Often with wide-angle lenses you have to live with either a slow aperture speed or excessive bulkiness. Example: the Zeiss Distagon 35mm f/1.4 is fast and produces beautiful results, but it's brick-heavy and as long as many 100+mm lenses. Smaller wide-angle lenses usually range from f/2.8 to f/4 if you aren't paying the big bucks for something like a Leica Summicron lens.
The Zeiss Batis 25mm f/2.0 attempts to find a middleground. It's reasonably fast, and while it's far from small for a 25mm, it's fairly lightweight and the length isn't too out of control. It is a fat lens, and would probably be a bit much for the smaller Sony E-Mount cameras.
As for results, it combines excellent optical performance with minimal distortion to produce high-quality, straightforward results. This makes it a good travel photography lens for me. I don't look for personality traits such as bokeh quality as much in wide-angle lenses as I do in 50+mm lenses. With something like the following shot, taken at Lake Lugano in Switzerland, the priority is catching a big field of view with maximum clarity.

The Batis 25mm at f/10, 1/160th shutter, and ISO 200.
Cramped spaces can also call for wider angle shooting. I turned to the Batis when walking the narrow streets and alleys of the old Medina of Rabat, Morocco.
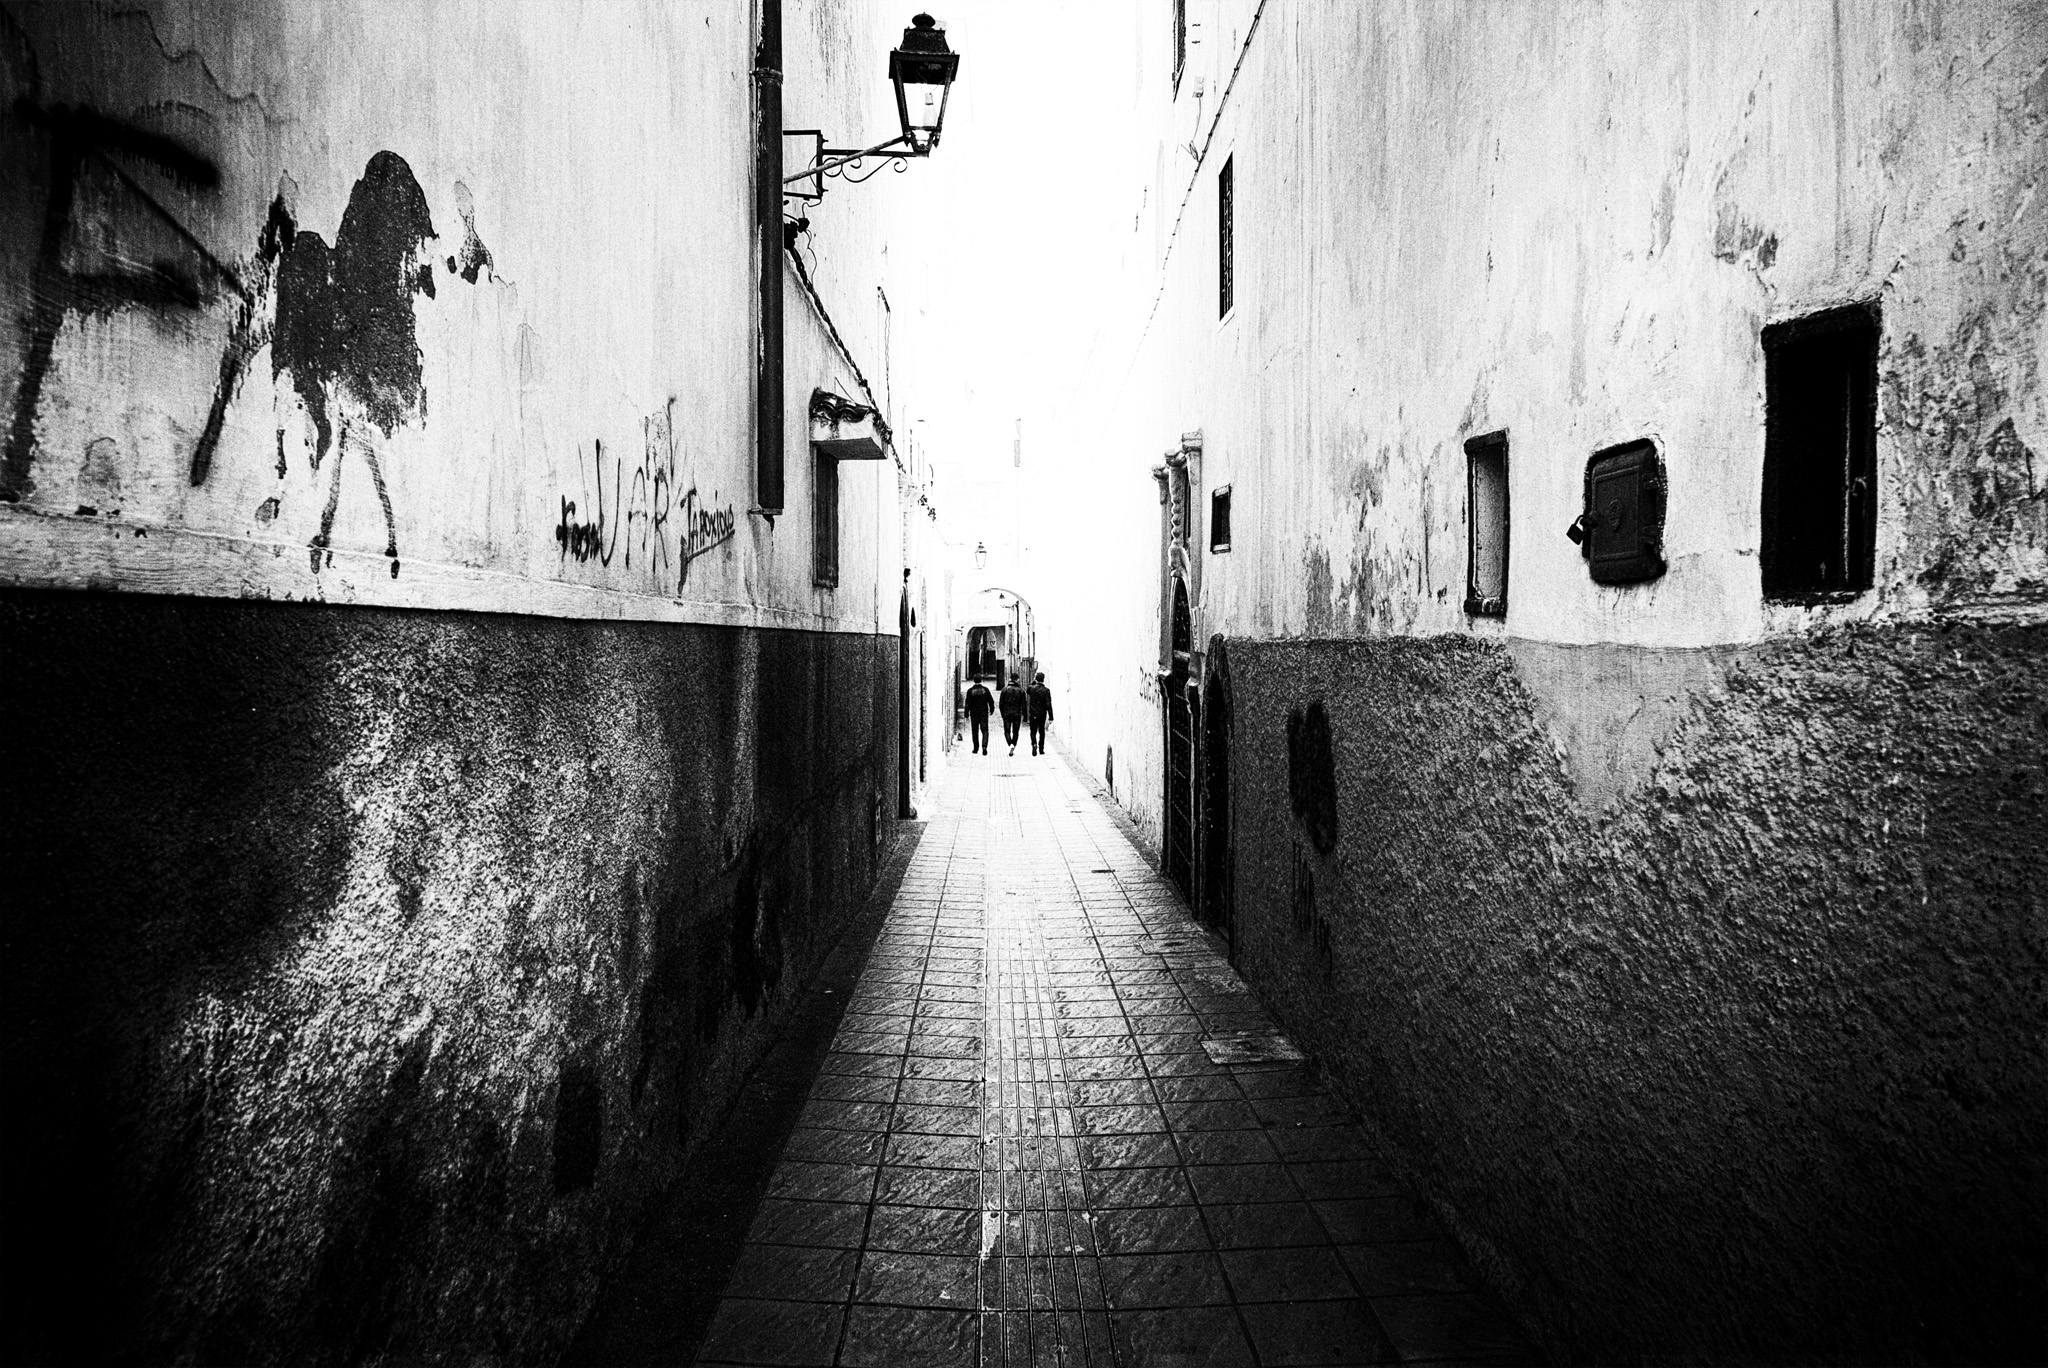
f/6.3, 1/400th shutter, and ISO 400. Lots of contrast added in the edit, with some added vignetting as well.
When in manual focus mode, this lens has a readout on top of it that displays focus distance, as well as depth-of-field (circle of confusion) range:

At f/2.8. The readout is also available in feet, but years of vintage Soviet lenses have taught this American to think in meters.
It can also be set to always on or off. I've seen reviews call this feature a gimmick, with photographers saying they don't see the point. I couldn't disagree more - this readout is wonderful feature, and I hope to see it on more lenses in the future. I often rely on zone focusing for things like street photography and concert photography. When I'm walking through a city trying to quickly capture slice-of-life moments, I prefer older lenses that have markings showing focus distance and aperture so I can know at a glance if the focus will be right. This readout brings that feature back with a new level of accuracy.
If you're someone who uses autofocus a lot, this feature won't be of much use to you. But I would also suggest you turn your autofocus off - I consider autofocus much more a pointless gimmick than this readout!
Getting back to lens performance, I'm also happy with how it does in low light, as seen here crossing the Arno River in Florence, Italy:

f/2.5, shutter 1/50th, and ISO 2000. Florence is often drizzly in January, but as film noir cinematographers discovered long ago, that's great for shooting streets and sidewalks at night.
I don't chase after sharpness performance as much as many photographers, but I was happy to have the Batis's sharpness when I came across this tree on the shore of Lake Como in northern Italy:

Do you see the silhouetted witch? f/5.0, 1/200th shutter, ISO 100.

Moroccan flag street art in Casablanca. f./4.0, shutter 1/640th, ISO 100.

One of the many picturesque streets near Lake Como, Italy. f/4.0, shutter 1/60th, ISO 100.